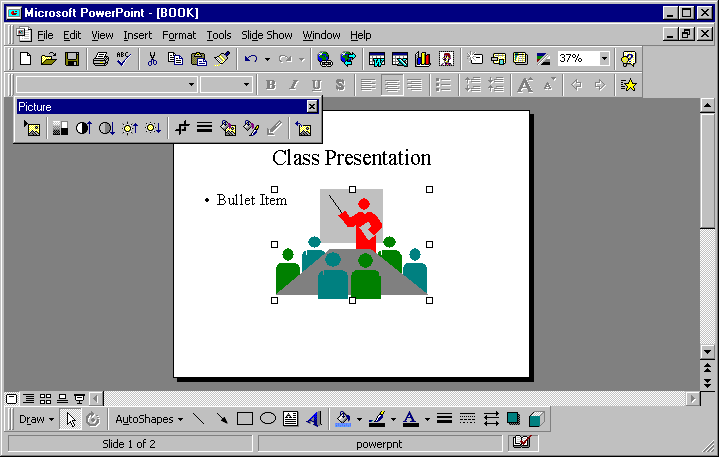
The window will list all of the "Clipart" categories. Select from these lists for the graphic that gives your slide more meaning. Since our example presentation is how to give a presentation, I chose the clip art of a group of people around a table looking at a presenter. I move the mouse and click on the picture. Last, I click on the "Insert" button and the graphic will appear on the slide.
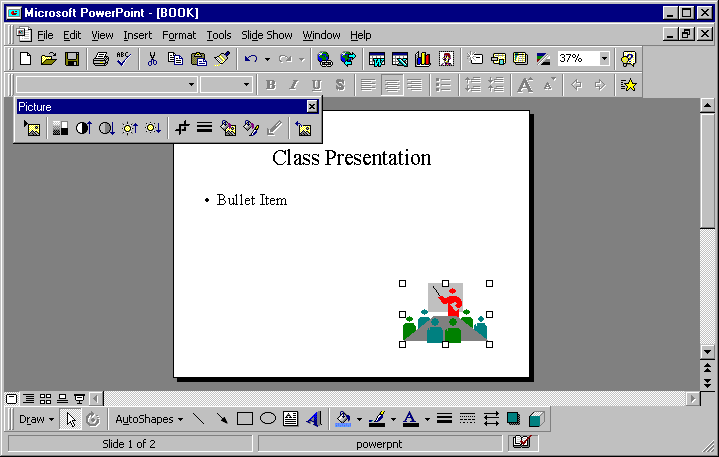
As you can see, we have a small problem: the clip art picture takes up most of the slide. If you look closely at the picture, you will notice little boxes around the border of the picture. These little boxes will allow you to size the picture to meet the space requirements on the slide. You will notice as you move the mouse over one of the boxes that the mouse pointer went from a pointing arrow to bi-directional arrow. Next select a box, hold the left mouse button down, and start to resize the picture. If you use one of the four boxes in the corners, you will size the graphic proportionally.
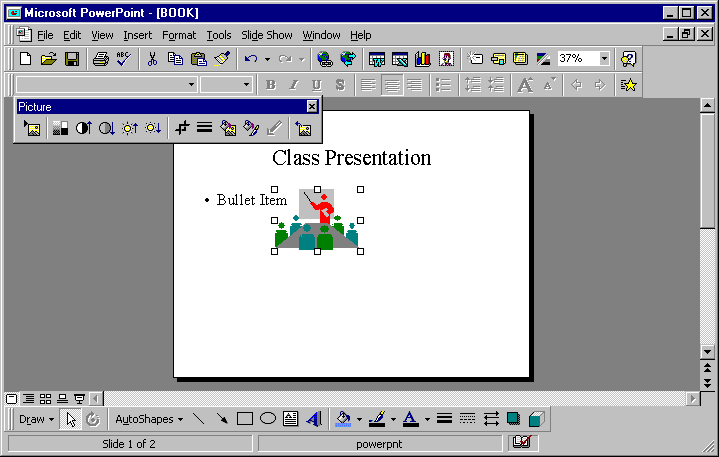
Now, the graphic is sized correctly but it is still in the middle of the slide. Move the mouse to the middle of the graphic. The mouse pointer will turn from a pointing arrow to a four-directional pointer. Click on the center of the graphic and hold the left mouse button down. As you hold the button down and start to move the mouse, you will notice the whole graphic move with the mouse. The picture will be replaced with a square blank box. This will give you the border of the graphic. Most of the time, I place the image in lower right hand corner of the slide. Since we read from left to right, the lower right hand corner of the slide may have space available.